github.com/collabora/libsurvive @v1.01
Chat with this repoWhat it actually does AI analysis from the code graph — generated when you open this
README
libsurvive 



Libsurvive is a set of tools and libraries that enable 6 dof tracking on lighthouse and vive based systems that is completely open source and can run on any device. It currently supports both SteamVR 1.0 and SteamVR 2.0 generation of devices and should support any tracked object commercially available.
Since the focus is on tracking; it does not independently run the HMD. For an open souce stack that does that see monado
Most of the development is discussed on Discord. Join the chat and discussion in our discord!. There is also a matrix bridge available to join the discussion.
An example application is libsurvive running the controllers and HMD in Godot:
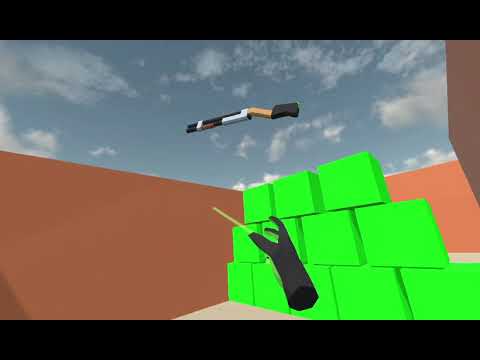
Table of Contents
Quick start
Debian
git clone git@github.com:cntools/libsurvive.git --recursive
cd libsurvive
sudo cp ./useful_files/81-vive.rules /etc/udev/rules.d/
sudo udevadm control --reload-rules && udevadm trigger
sudo apt-get install build-essential zlib1g-dev libx11-dev libusb-1.0-0-dev freeglut3-dev liblapacke-dev libopenblas-dev libatlas-base-dev cmake
make
Plug in a headset / tracker / controller / etc and run:
./bin/survive-cli
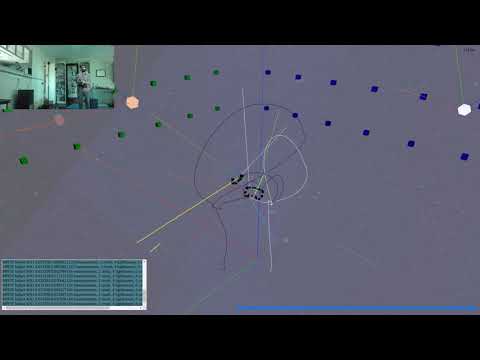
This should calibrate and display your setup.
For visualization, you can either download a binary of websocketd or enable the experimental apt source and use sudo apt install websocketd. After which you can run:
./bin/survive-websocketd & xdg-open ./tools/viz/index.html
Windows
If you have cmake installed on your path you can simply run the make.ps1 script by right clicking it and seleting Run with PowerShell.
A more manual approach is to open CMakeLists file in something like CMake GUI to build from source using one of the visual studio generators. This will also let you set various build options. The build uses NuGet to get the necessary development dependencies. After you generate the project, open the solution in visual studio and run build all.
Websocketd should work the same with with the visualization tool; assuming you put it somewhere in the system path. In the build binary folder (./build-win/Release if you built from make.ps1) there should be a survive-websocketd.ps1 which can be ran as a PowerShell file.
Probably the easiest way to get started with libsurvive on windows is to check out the release binaries.
Current Status
The tracking and device enumeration work fairly well at this point; but there isn't an extremely large testing base and the tools aren't as polished as the comparable ones bundled in SteamVR. Work is ongoing to quantify how accurate the tracking is and to improve the user experience.
Roadmap
A very loose collection of things that are on the short term agenda:
- Dynamic correction of calibration. This would detect and silently recalibrate lighthouses that might have moved. The end goal is to have a system where the user is never aware of any calibration requirements.
- An android binary / port
- Hard numbers on the accuracy and precision of libsurvive as a tracking system. If anyone wants to contribute time testing on a CNC please get in our discord
- Better handling of data starvation -- if the USB or radio connection stutters too long, the tracking will occasionally glitch out for a brief period.
- Use something like usbmon for windows
Getting Started
If you followed the quick start guide, you'll notice that the first thing you must do (for linux) is install udev rules:
sudo cp ./useful_files/81-vive.rules to /etc/udev/rules.d/
sudo udevadm control --reload-rules && udevadm trigger
This allows one to use those devices without having root. No such steps are necessary in windows.
After that, when you run survive-cli or survive-websocketd it should recognize any plugged in vive devices and start
calibrating and tracking those devices.
Important: Close SteamVR for best results. Depending on the system, libsurvive will either cause SteamVR to lose connection to the device or will compete for bandwidth with it
Calibration
Calibration is the process which establishes where the lighthouses are set up in relation to the tracked objects. The first time you run libsurvive, it can take up to ten seconds to communicate with the lighthouses and figure out where they are.
Calibration will continuously integrate objects data so long as they are momentarily stationary. Due to this, you might notice lighthouses shift slighty while it gets a good lock. Subsequent runs should shift much less.
Once you do this one time, it is saved in config.json in XDG_CONFIG_HOME/libsurvive. If you delete this file, it will simply
recalibrate; but it is faster to use the --force-calibrate flag. Some drivers change the name of this file -- notably recordings will instead use <event_file>.json.
If you have a large space, and you can not centrally locate a single device to 'see' all lighthouses, you can calibrate a few lighthouses and move the tracked object into the field of view of the uncalibrated lighthouse while keeping it in view of at least one of the calibrated ones. Set it down so it doesn't move; and the remaining lighthouse(s) should now calibrate.
Important: Resetting calibration automatically when a lighthouse is moved is being planned on but is not currently
available. If one of the calibrated lighthouses are moved, you either have to redo calibration by deleting the config.json
file or passing --force-calibrate into any of the libsurvive tools.
Visualization
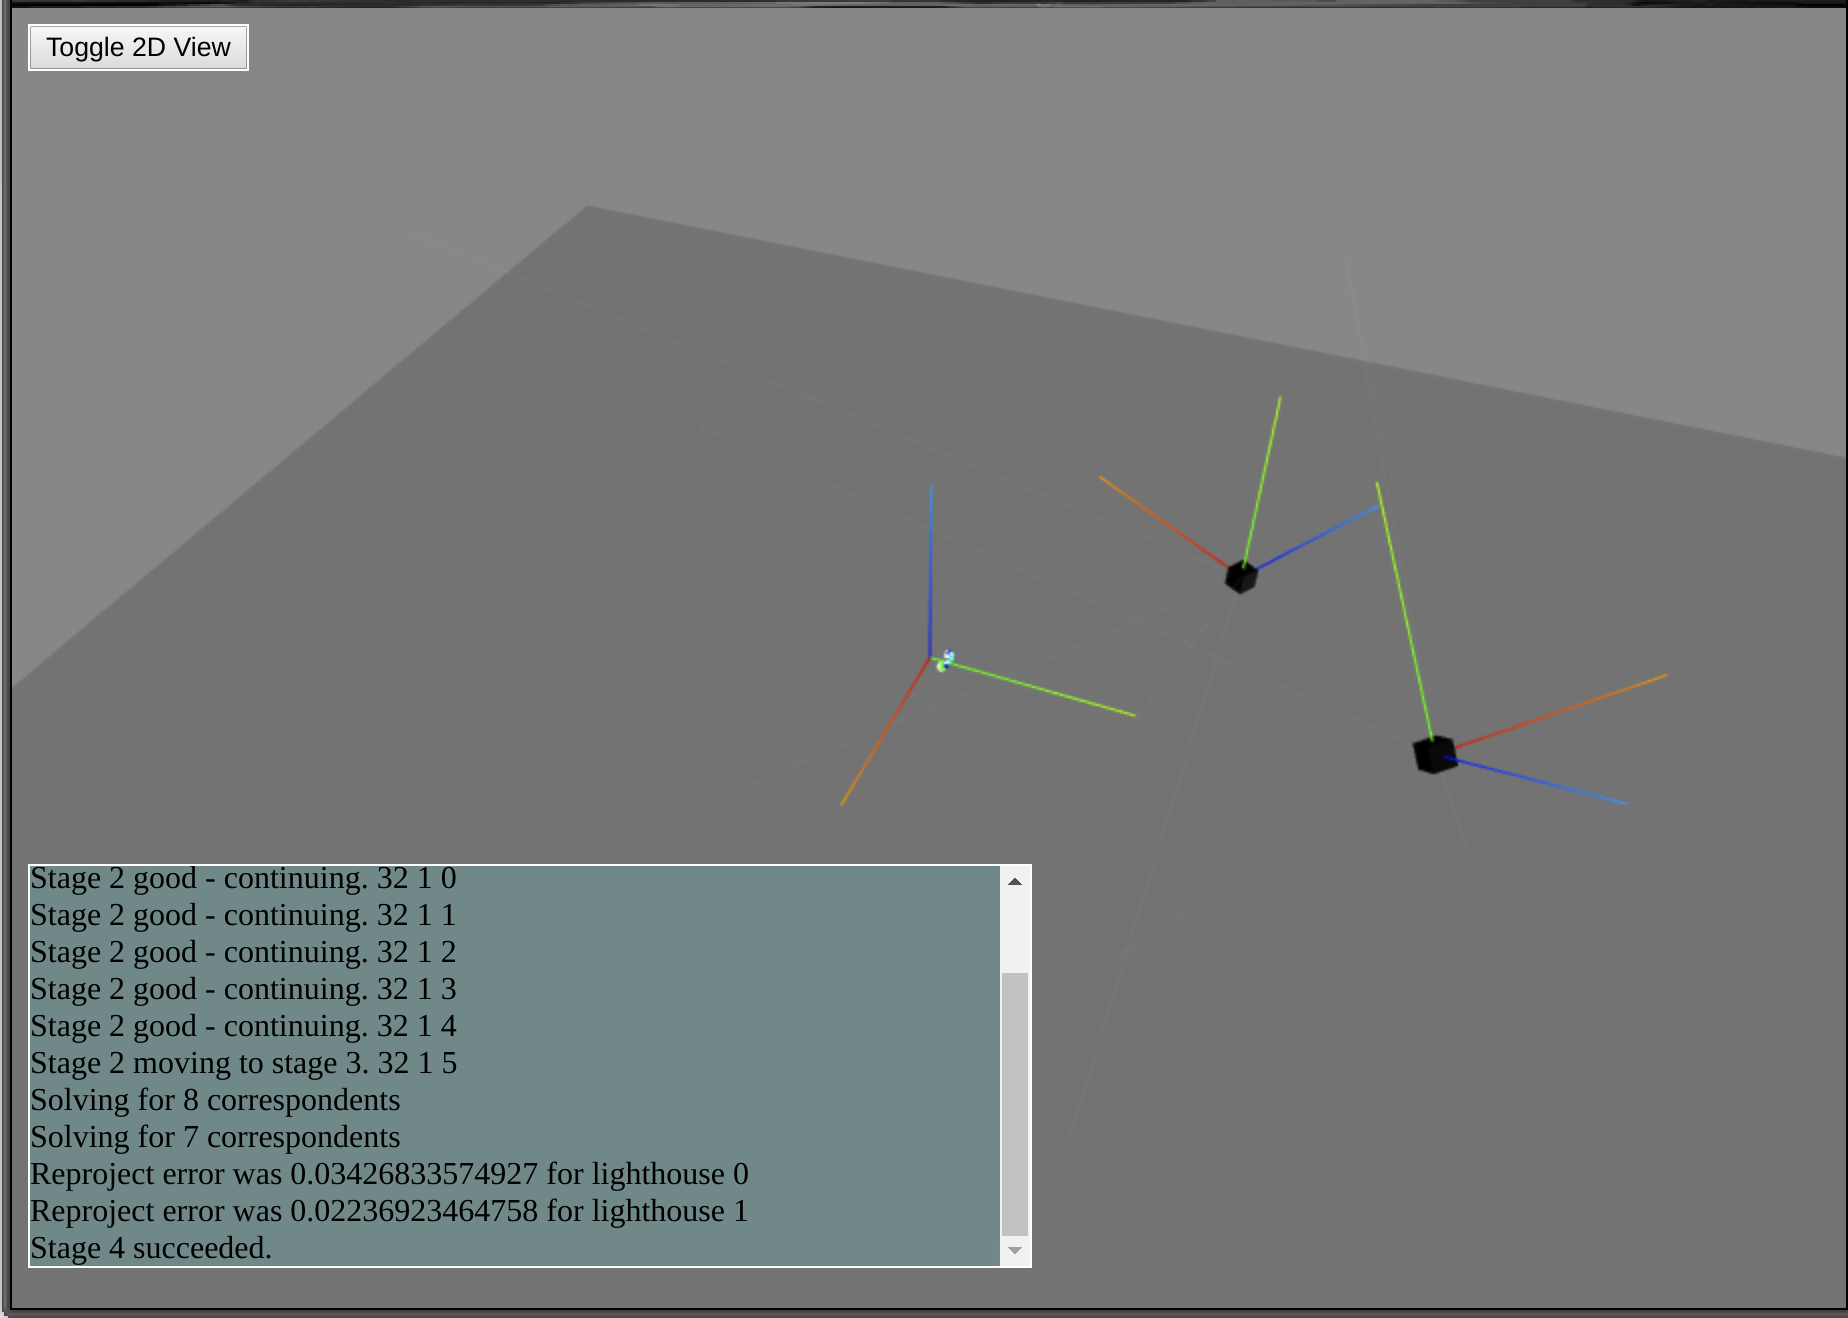
The main visualization tool is a THREE.js page which is fed data through (websocketd)[http://websocketd.com/]. To use
this tool, run survive-websocketd [options] and open a web browser to ./tools/viz/index.html from the root of the
cloned repo.
libsurvive Tools
survive-cli- This is the main command line interface to the library; really just a very thin wrapper around the library.survive-websocketd- A script which runssurvive-clithroughwebsocketdwith all the appropriate flags set.sensors-readout- Display raw sensor information in a ncurses display
Using libsurvive in your own application
Lower level API
This section is mainly concerned about consuming data from the library; for information on how to provide data, see the drivers section.
The main way to extend and use libsurvive is to use the various callbacks exposed by the library to get information from the system. Use of libsurvive in this way is recommended if you need access to all data going in -- IMU data, individual light data, and/or final pose data. However care needs to be taken to not bog down the system. In general these callbacks are invoked from the thread collecting the data; so if you have unnecessary delays in processing data will be dropped which will cause poor tracking performance.
The full list of hooks is here. The function types are here.
You install your custom hook via:
<hook-name>_process_func survive_install_<hook-name>_fn(SurviveContext *ctx, <hook-name>_process_func fbp);
This returns the previously set function for that particular hook; which you can choose to call in your own callback. This
is somewhat more cumbersome than just having the callbacks return true or false; but allows the flexibility to call
the previously defined function before or after your code, or not at all.
These hooks are used internally within libsurvive; if you provide a hook and do not either call the previously defined or default function, some data will not make it to the posers.
SurviveContext and SurviveObject both have a user_ptr variable which is zero initialized and not used internally,
and is meant to be set by library consumers for their own purposes. This allows you to install the hook, and not resort
to using globals.
These interfaces are relatively stable, but aren't guaranteed to not change.
Have a look at the other libsurvive tools a the top level of the repository for example usage of the lower level API: - survive-cli.c - sensors-readout.c - simple_pose_test.c
High level API
The high level Simple API is recommended for applications which just need position and velocity data as fast as they
can process that data. It has a few main advantages:
- User code runs in it's own thread; so you can't starve libsurvive of data
- Much more insulated against lower level API changes; so you can upgrade libsurvive versions more easily
The main loop logic tends to look like this in C:
while (survive_simple_wait_for_update(actx) && keepRunning) {
    for (const SurviveSimpleObject *it = survive_simple_get_next_updated(actx); it != 0;
         it = survive_simple_get_next_updated(actx)) {
        SurvivePose pose;
        uint32_t timecode = survive_simple_object_get_latest_pose(it, &pose);
        printf("%s %s (%u): %f %f %f %f %f %f %f\n", survive_simple_object_name(it),
               survive_simple_serial_number(it), timecode, pose.Pos[0], pose.Pos[1], pose.Pos[2], pose.Rot[0],
               pose.Rot[1], pose.Rot[2], pose.Rot[3]);
    }
}
Example code for the application interface can be found in api_example.c.
The full header for the simpler API is available here.
Python Bindings
Python bindings are available for python3 on windows and linux through https://pypi.org/project/pysurvive/. You can install them with
pip install pysurvive
To build the python bindings, run python setup.py install in the repo root. This should install the pysurvive package.
An example which streams poses out as they come in:
import pysurvive
import sys

actx = pysurvive.SimpleContext(sys.argv)

for obj in actx.Objects():
    print(obj.Name())

while actx.Running():
    updated = actx.NextUpdated()
    if updated:
        print(updated.Name(), updated.Pose())
There are more examples in ./bindings/python.
C# Bindings
The C# bindings wrap both the low level access API and the higher level simpler to use API. It is recommended to use the higher level API since the low level one relies heavily on callbacks and marshalling makes working with it prone to errors that are not always easy to solve.
Standard binaries are available at https://www.nuget.org/packages/libsurvive.net/. You can install them for a given C# project through the visual studio nuget manager tool.
Build the solution here with either visual studio or by running something like
dotnet build -c Release
from a terminal to generate the binary libsurvive.net.dll. This works in linux as well as windows; but the
filename still ends in dll. When you run against this binary, libsurvive.so needs to either be in the same directory
(with desired plugins), or on the system path.
The high level api is exposed through the libsurvive.SurviveAPI object. It's use is pretty easy; it can just poll for
updates to object positions or button events as in the Demo project:
```cs using libsurvive; using System;
namespace Demo {
class Program
{
    static void Main() {
        string[] args = System.Environment.GetCommandLineArgs();
        var api = new SurviveAPI(args);

        while (api.WaitForUpdate
Core symbols most depended-on inside this repo
partialShape
Languages
Modules by API surface
For agents
$ claude mcp add libsurvive \
  -- python -m otcore.mcp_server <graph>