github.com/WilliamLiu-1997/3D-Tiles-RendererJS-3DGS-Plugin @v0.1.14
Chat with this repoWhat it actually does AI analysis from the code graph — generated when you open this
README
3d-tiles-rendererjs-3dgs-plugin



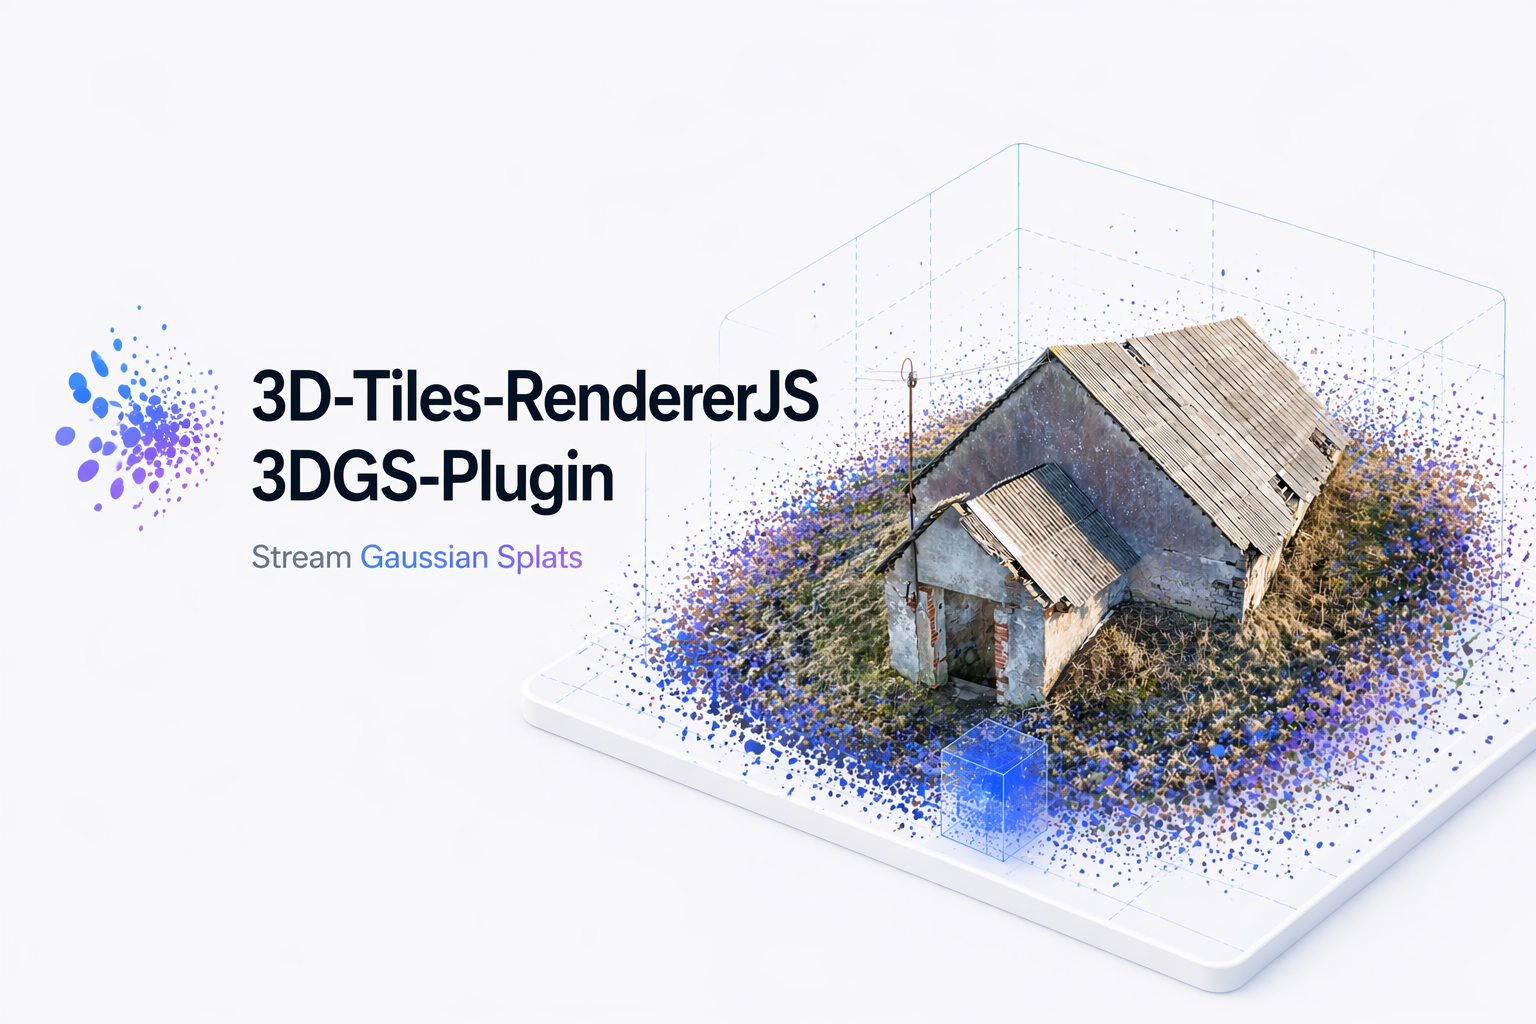
3d-tiles-rendererjs-3dgs-plugin adds Gaussian splat tile support to
3d-tiles-renderer by
parsing glTF / GLB tile payloads that use KHR_gaussian_splatting with
KHR_gaussian_splatting_compression_spz_2, then rendering them through
@sparkjsdev/spark.
This plugin loads 3D Tiles content; it does not load raw .ply splat files
directly. To generate 3D tiles from PLY-format 3D Gaussian Splatting
data, use
3DGS-PLY-3DTiles-Converter.
The package is designed for three.js applications that already use
TilesRenderer and want streamed Gaussian splat content to behave like normal
tile content, including tile disposal, byte accounting, and fade plugin
compatibility.
Features
- Supports both explicit and implicit 3D Tiles tiling schemes
- Supports
gltfandglbtile payloads containing compressed Gaussian splats - Builds
SplatMeshinstances from SPZ-compressed primitive data - Shares one Spark renderer per scene / WebGLRenderer pair
- Accepts
sparkRendererOptionsto forward a supported subset of Spark renderer settings - Re-bases splat rendering around the active camera to reduce large-world precision issues
- Tracks extra GPU / buffer memory through
calculateBytesUsed - Preserves opacity updates from tile fade transitions
Requirements
The package peer dependency ranges are:
three@^0.180.03d-tiles-renderer@^0.4.25@sparkjsdev/spark@^2.1.0
Installation
npm install 3d-tiles-rendererjs-3dgs-plugin three 3d-tiles-renderer @sparkjsdev/spark
Usage
import { Scene, PerspectiveCamera, WebGLRenderer } from 'three';
import { TilesRenderer } from '3d-tiles-renderer';
import { TilesFadePlugin } from '3d-tiles-renderer/plugins';
import { GaussianSplatPlugin } from '3d-tiles-rendererjs-3dgs-plugin';

const renderer = new WebGLRenderer({ antialias: false });
const scene = new Scene();
const camera = new PerspectiveCamera(
  60,
  window.innerWidth / window.innerHeight,
  0.1,
  10000,
);

const tiles = new TilesRenderer('https://example.com/tileset.json');
tiles.setCamera(camera);
tiles.setResolutionFromRenderer(camera, renderer);
tiles.registerPlugin(new TilesFadePlugin());
tiles.registerPlugin(
  new GaussianSplatPlugin({
    renderer,
    scene,
    minRaycastOpacity: 0.1,
    sparkRendererOptions: {
      // Optional: the plugin already defaults this to 2.
      focalAdjustment: 2,
    },
  }),
);

scene.add(tiles.group);

function frame() {
  tiles.update();
  renderer.render(scene, camera);
  requestAnimationFrame(frame);
}

frame();
WebXR / VR
The Gaussian splat renderer is WebXR-aware when renderer.xr.isPresenting.
For a pure WebXR render loop, use the same session-switching pattern as the
upstream
3D Tiles Renderer VR example:
register the normal camera outside XR, switch TilesRenderer to Three.js' XR
ArrayCamera when an XR session starts, and switch back when the session ends.
import { Scheduler } from '3d-tiles-renderer';
import { VRButton } from 'three/addons/webxr/VRButton.js';

tiles.setCamera(camera);
tiles.setResolutionFromRenderer(camera, renderer);

renderer.xr.enabled = true;
document.body.appendChild(VRButton.createButton(renderer));

let xrSession = null;

function clearTilesCameras() {
  for (const registeredCamera of [...tiles.cameras]) {
    tiles.deleteCamera(registeredCamera);
  }
}

function syncTilesCameraForXR() {
  if (renderer.xr.isPresenting) {
    camera.updateMatrixWorld();
    renderer.xr.updateCamera(camera);

    const xrCamera = renderer.xr.getCamera();

    if (xrSession === null) {
      clearTilesCameras();
      tiles.setCamera(xrCamera);

      xrSession = renderer.xr.getSession();
      Scheduler.setXRSession(xrSession);
    }

    const firstViewCamera = xrCamera.cameras[0];
    if (firstViewCamera) {
      tiles.setResolution(
        xrCamera,
        firstViewCamera.viewport.z,
        firstViewCamera.viewport.w,
      );
    }
  } else if (xrSession !== null) {
    clearTilesCameras();
    tiles.setCamera(camera);
    tiles.setResolutionFromRenderer(camera, renderer);

    xrSession = null;
    Scheduler.setXRSession(null);
  }
}

renderer.setAnimationLoop(() => {
  syncTilesCameraForXR();
  tiles.update();
  renderer.render(scene, camera);
});
The important ordering is camera.updateMatrixWorld() before
renderer.xr.updateCamera(camera), and syncTilesCameraForXR() before
tiles.update(). That makes tile visibility and LOD use the headset camera
during XR. Re-run tiles.setResolutionFromRenderer(camera, renderer) from your
resize handler when the canvas size changes. For AR placement and hit testing,
use an AR-specific flow such as the
Three.js AR hit-test example
in addition to this 3D Tiles camera/session pattern. AR applications still need
application-level reference-space alignment, anchors, real-world depth, and
occlusion handling.
Spark Renderer Options
GaussianSplatPlugin accepts an optional sparkRendererOptions object on the
constructor host:
new GaussianSplatPlugin({
  renderer,
  scene,
  sparkRendererOptions: {
    focalAdjustment: 2,
    blurAmount: 0.15,
  },
});
Supported keys are premultipliedAlpha, encodeLinear, maxStdDev,
minPixelRadius, maxPixelRadius, minAlpha, enable2DGS,
preBlurAmount, blurAmount, clipXY, focalAdjustment, sortRadial,
minSortIntervalMs, depthTest, and depthWrite.
Unspecified options use Spark defaults, except this plugin keeps
focalAdjustment: 2 as its own default.
Because one Spark renderer is shared per scene / WebGLRenderer pair,
explicit sparkRendererOptions from later GaussianSplatPlugin instances are
merged into that existing shared renderer. Omitted keys do not reset previously
applied values, and changed explicit values log a warning so shared-state
updates remain visible.
To update options on an existing shared Spark renderer at runtime, call
updateSharedSparkRendererOptions with the scene and options:
import { updateSharedSparkRendererOptions } from '3d-tiles-rendererjs-3dgs-plugin';

updateSharedSparkRendererOptions(scene, {
  blurAmount: 0.2,
});
Omitted keys keep their current values.
Rendering Note
When compositing Gaussian splats with an ellipsoid globe or imagery tiles, keep the globe in the opaque render path whenever possible.
Spark splats render as transparent, depth-tested geometry. If the globe is also rendered as transparent tile meshes, then both systems end up in Three.js' transparent queue, where sorting is primarily object-level instead of per-pixel. At grazing / horizon views this can make the globe appear to occlude an entire splat set at once.
To avoid that artifact:
- Prefer globe materials with
transparent = falseanddepthWrite = true - Or use separate render passes for the globe and splats if the globe must stay transparent
Using a separate render pass for the splats is also a valid approach when you need to keep the globe in a transparent pipeline.
For example, the demo forces each imagery tile back into the opaque pass when it loads:
const imageryOverlay = new XYZTilesOverlay({
  levels: 18,
  url: '...',
});

const imageryTiles = new TilesRenderer();
imageryTiles.registerPlugin(
  new GeneratedSurfacePlugin({
    overlay: imageryOverlay,
    shape: 'ellipsoid',
    center: true,
    applyOverlayTexture: true,
  }),
);

imageryTiles.addEventListener('load-model', ({ scene: modelScene }) => {
  modelScene.traverse((child) => {
    if (!child.material) return;

    const materials = Array.isArray(child.material)
      ? child.material
      : [child.material];

    for (const material of materials) {
      material.transparent = false;
    }
  });
});
If you prefer explicit pass ordering instead, split the globe and splats into different scenes and render them sequentially without clearing depth between passes:
const globeScene = new Scene();
const splatScene = new Scene();

const imageryTiles = new TilesRenderer(
  'https://example.com/imagery/tileset.json',
);
imageryTiles.setCamera(camera);
imageryTiles.setResolutionFromRenderer(camera, renderer);

const imageryOverlay = new XYZTilesOverlay({
  levels: 18,
  url: '...',
});
imageryTiles.registerPlugin(
  new GeneratedSurfacePlugin({
    overlay: imageryOverlay,
    shape: 'ellipsoid',
    center: true,
    applyOverlayTexture: true,
  }),
);
globeScene.add(imageryTiles.group);

const splatTiles = new TilesRenderer('https://example.com/splats/tileset.json');
splatTiles.setCamera(camera);
splatTiles.setResolutionFromRenderer(camera, renderer);
splatTiles.registerPlugin(new TilesFadePlugin());
splatTiles.registerPlugin(
  new GaussianSplatPlugin({ renderer, scene: splatScene }),
);
splatScene.add(splatTiles.group);

renderer.autoClear = false;

function frame() {
  imageryTiles.update();
  splatTiles.update();

  renderer.clear();
  renderer.render(globeScene, camera);
  renderer.render(splatScene, camera);

  requestAnimationFrame(frame);
}

frame();
This keeps the globe and splats out of the same transparent sort queue while still letting the globe depth buffer occlude splats behind the horizon.
Supported Content
This plugin supports both explicit and implicit tiling tilesets, but it only intercepts tile payloads when all of the following are true:
- The tile content is
gltforglb - The glTF scene contains
KHR_gaussian_splatting - Each Gaussian primitive uses
KHR_gaussian_splatting_compression_spz_2
KHR_gaussian_splatting_compression_spz_2 is the only supported Gaussian
compression path at the moment. Raw, uncompressed Gaussian primitives and other
compression schemes are rejected intentionally.
Tiles may also include the draft EXT_splat_opacity extension to carry
Spark-compatible per-splat opacity values alongside SPZ data. See
EXT_splat_opacity.md for the extension shape and
accessor requirements.
API
new GaussianSplatPlugin(host)
Creates a tile parser plugin.
host must contain:
renderer: WebGLRendererscene: SceneminRaycastOpacity?: numbersparkRendererOptions?: supported Spark renderer option subset
minRaycastOpacity is forwarded to each Spark SplatMesh created by the
plugin. It defaults to 0.1.
The same scene and renderer pair must stay in a strict 1:1:1 relationship
with the shared Spark renderer manager used by the plugin. If multiple plugin
instances reuse that pair, they also reuse the same Spark renderer and merge
their explicit sparkRendererOptions into it.
isGaussianSplat(object)
Type guard for Spark SplatMesh nodes created by this plugin.
isGaussianSplatScene(object)
Type guard for the Group wrapper that owns one parsed Gaussian tile scene.
getSparkRendererForScene(scene)
Returns the shared Spark renderer currently attached to a scene, or null if
the plugin has not initialized one for that scene or it has already been
disposed. The returned renderer is owned by the plugin.
updateSharedSparkRendererOptions(scene, options)
Applies explicit supported sparkRendererOptions to the existing shared Spark
renderer for scene. This is intended for runtime UI controls or other
configuration changes after the plugin has initialized. It does nothing if no
shared renderer exists for the scene.
Public Exports
import {
  GaussianSplatPlugin,
  getSparkRendererForScene,
  isGaussianSplat,
  isGaussianSplatScene,
  updateSharedSparkRendererOptions,
} from '3d-tiles-rendererjs-3dgs-plugin';
Development
npm install
npm run check
npm run build
Examples
Two sample tilesets live under data/ — gaussianSplat1
and gaussianSplat2. Both are wired into a single demo page
at examples/index.html that uses
lil-gui to switch between them at runtime
and to recentre the camera on the current tileset.
The sample data in data/ was converted from PLY-format 3D Gaussian
Splatting files with
3DGS-PLY-3DTiles-Converter.
The page composes the splat tileset on top of an ArcGIS World Imagery globe
served through GeneratedSurfacePlugin and XYZTilesOverlay so the Gaussian
content sits in a real ECEF frame. A custom CameraController (examples/shared/cameraController.js)
drives orbit / pan / zoom using raycasts against the scene and the WGS84
ellipsoid, with inertial damping.
Controls:
- Left-drag: orbit
- Right-drag (or Shift + left-drag): pan
- Scroll: zoom
- GUI
Tilesetdropdown: swap the active tileset - GUI
Move to tilesetbutton: frame the camera on the current tileset
npm start               # dev server with HMR, opens examples/index.html
npm run build-examples  # bundle the demo to examples/bundle/
build-examples emits a self-contained static site (HTML + JS + the two
datasets) in examples/bundle/. Serve that directory with any static file
server to view the de
Core symbols most depended-on inside this repo
disposeShape
Languages
Modules by API surface
For agents
$ claude mcp add 3D-Tiles-RendererJS-3DGS-Plugin \
  -- python -m otcore.mcp_server <graph>