github.com/RichardKnop/machinery @v2.0.16 sqlite
README
Machinery
Machinery is an asynchronous task queue/job queue based on distributed message passing.

![]()
![]()
![]()
![]()
- V2 Experiment
- First Steps
- Configuration
- Lock
- Broker
- DefaultQueue
- ResultBackend
- ResultsExpireIn
- AMQP
- DynamoDB
- Redis
- GCPPubSub
- Custom Logger
- Server
- Workers
- Tasks
- Registering Tasks
- Signatures
- Supported Types
- Sending Tasks
- Delayed Tasks
- Retry Tasks
- Get Pending Tasks
- Keeping Results
- Workflows
- Groups
- Chords
- Chains
- Periodic Tasks & Workflows
- Periodic Tasks
- Periodic Groups
- Periodic Chains
- Periodic Chords
- Development
- Requirements
- Dependencies
- Testing
V2
I recommend using V2 in order to avoid having to import all dependencies for brokers and backends you are not using.
Instead of factory, you will need to inject broker and backend objects to the server constructor:
import (
  "github.com/RichardKnop/machinery/v2"
  backendsiface "github.com/RichardKnop/machinery/v2/backends/iface"
  brokersiface "github.com/RichardKnop/machinery/v2/brokers/iface"
  locksiface "github.com/RichardKnop/machinery/v2/locks/iface"
)

var broker brokersiface.Broker
var backend backendsiface.Backend
var lock locksiface.Lock
server := machinery.NewServer(cnf, broker, backend, lock)
// server.NewWorker("machinery", 10)
First Steps
To install recommended v2 release:
go get github.com/RichardKnop/machinery/v2
If you want to use legacy v1 version, you still can:
go get github.com/RichardKnop/machinery
First, you will need to define some tasks. Look at sample tasks in v2/example/tasks/tasks.go to see a few examples.
Second, you will need to launch a worker process with one of these commands (v2 is recommended since it doesn't import dependencies for all brokers / backends, only those you actually need):
cd v2/
go run example/amqp/main.go worker
go run example/redigo/main.go worker // Redis with redigo driver
go run example/go-redis/main.go worker // Redis with Go Redis driver

go run example/amqp/main.go worker
go run example/redis/main.go worker
Finally, once you have a worker running and waiting for tasks to consume, send some tasks with one of these commands (v2 is recommended since it doesn't import dependencies for all brokers / backends, only those you actually need):
cd v2
go run v2/example/amqp/main.go send
go run v2/example/redigo/main.go send // Redis with redigo driver
go run v2/example/go-redis/main.go send // Redis with Go Redis driver
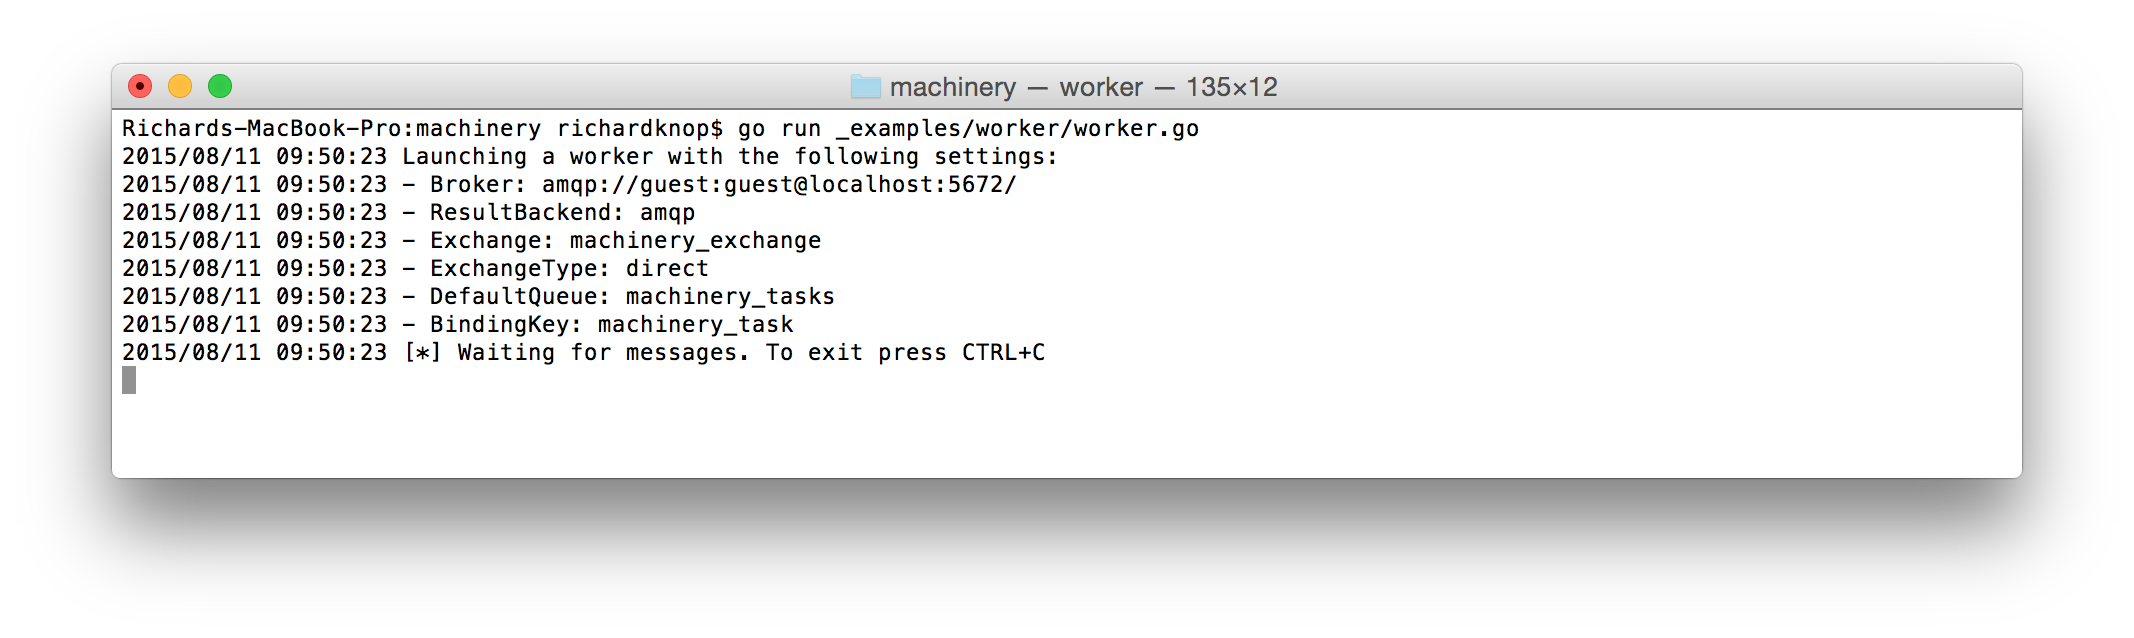
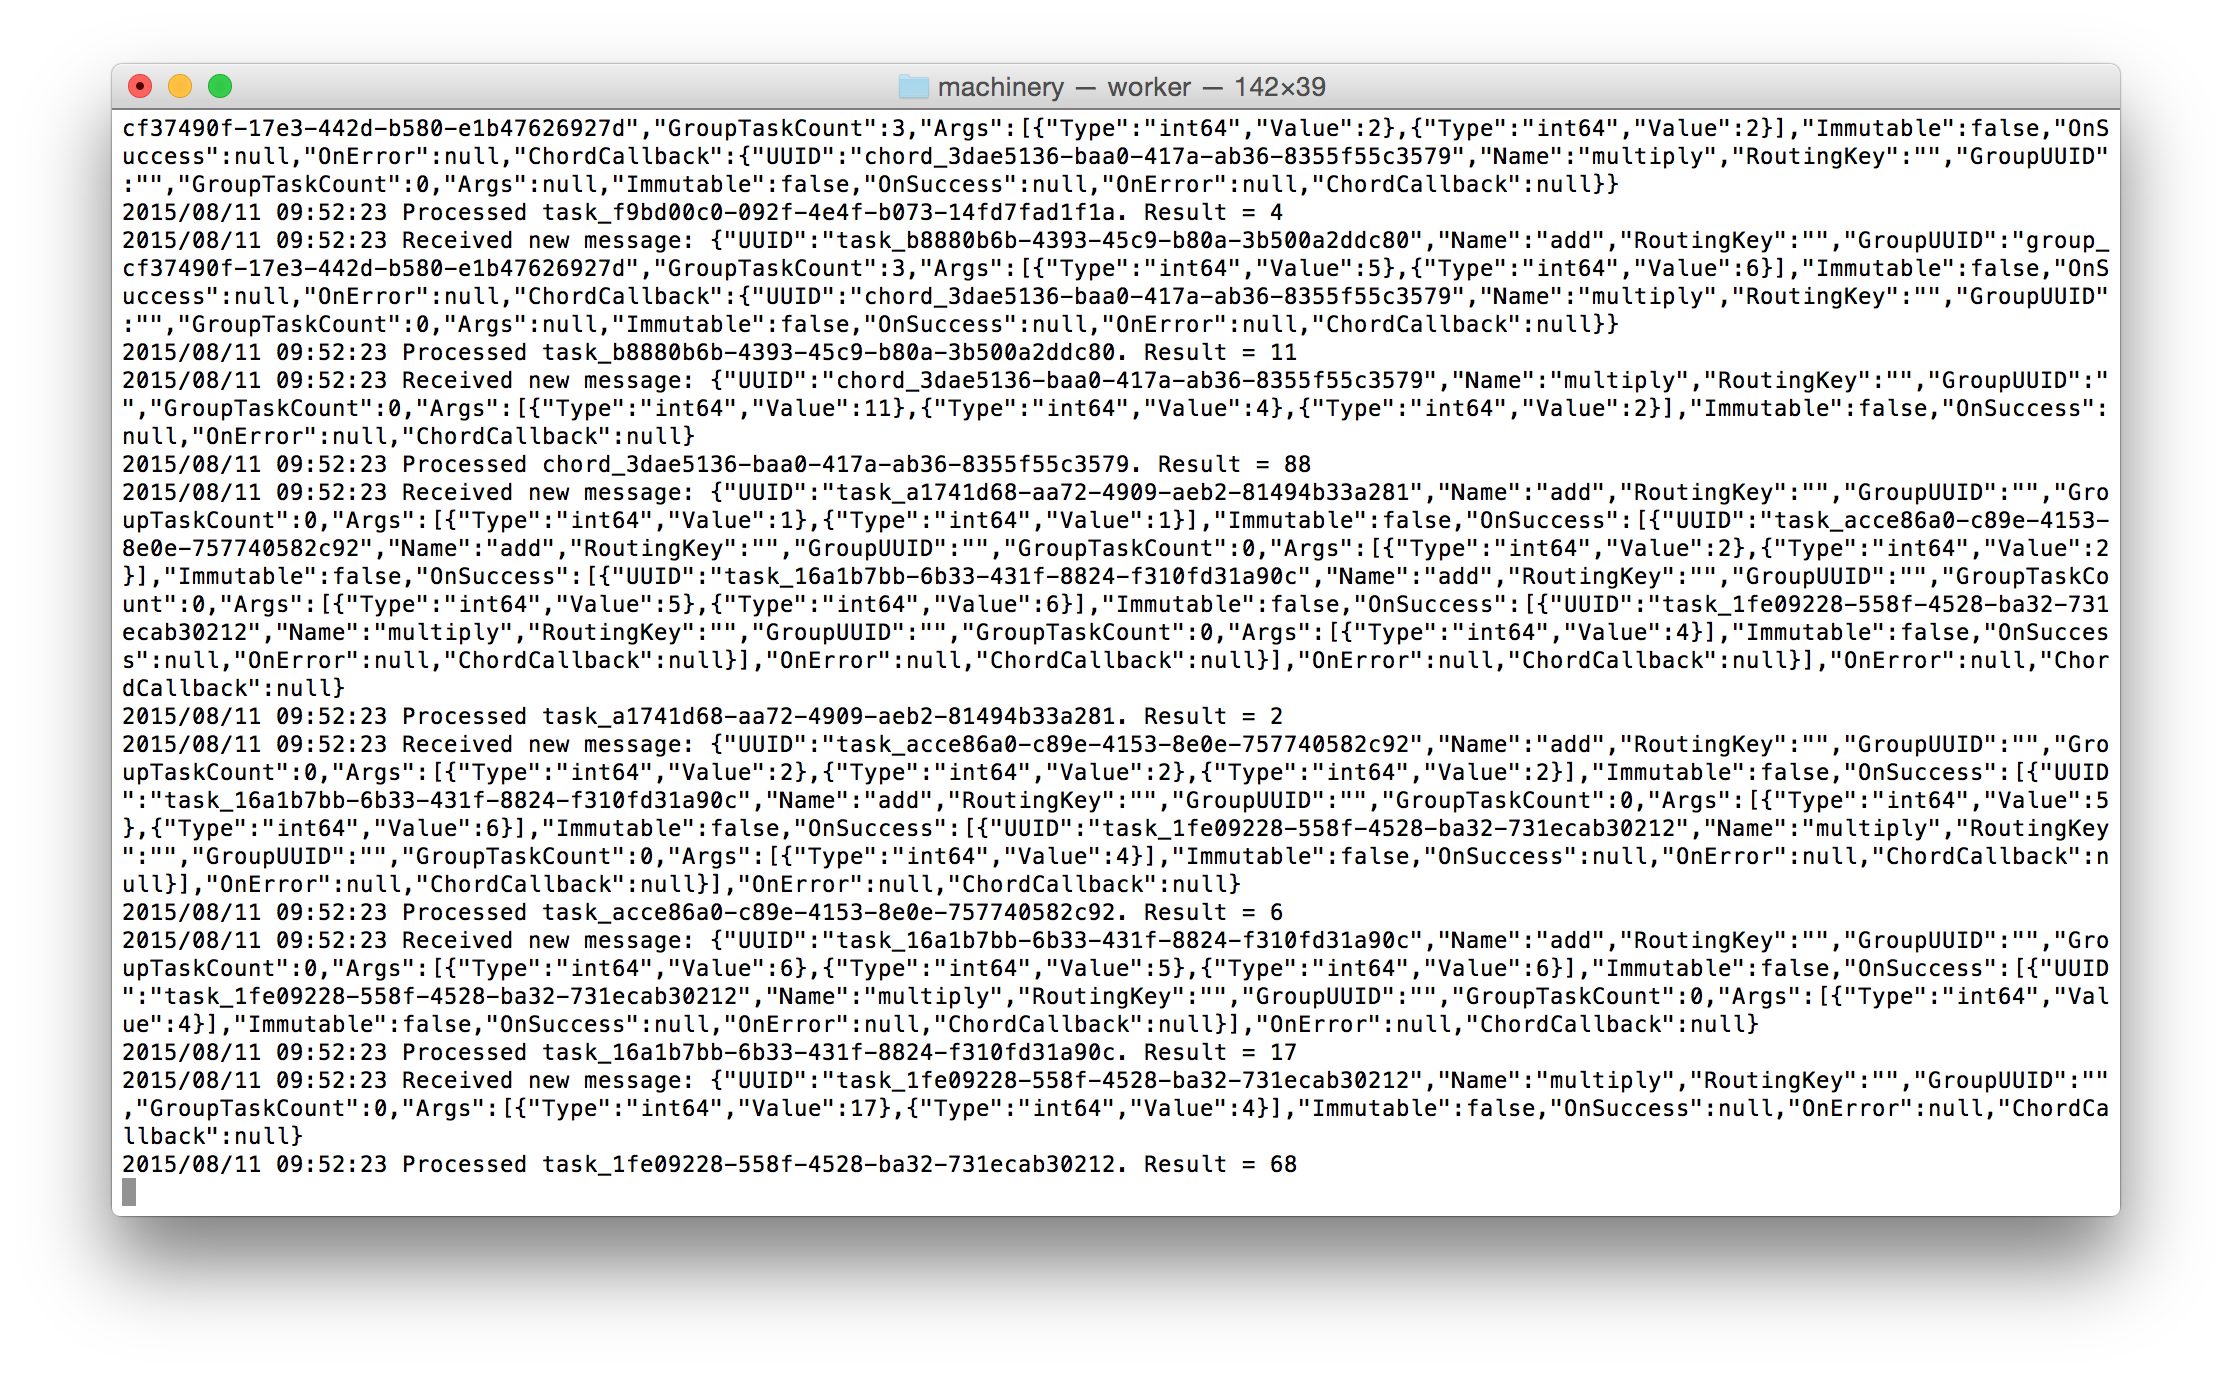
You will be able to see the tasks being processed asynchronously by the worker:
Configuration
The config package has convenience methods for loading configuration from environment variables or a YAML file. For example, load configuration from environment variables:
cnf, err := config.NewFromEnvironment()
Or load from YAML file:
cnf, err := config.NewFromYaml("config.yml", true)
Second boolean flag enables live reloading of configuration every 10 seconds. Use false to disable live reloading.
Machinery configuration is encapsulated by a Config struct and injected as a dependency to objects that need it.
Lock
Redis
Use Redis URL in one of these formats:
redis://[password@]host[port][/db_num]
For example:
redis://localhost:6379, or with passwordredis://password@localhost:6379
Broker
A message broker. Currently supported brokers are:
AMQP
Use AMQP URL in the format:
amqp://[username:password@]@host[:port]
For example:
amqp://guest:guest@localhost:5672
AMQP also supports multiples brokers urls. You need to specify the URL separator in the MultipleBrokerSeparator field.
Redis
Use Redis URL in one of these formats:
redis://[password@]host[port][/db_num]
redis+socket://[password@]/path/to/file.sock[:/db_num]
For example:
redis://localhost:6379, or with passwordredis://password@localhost:6379redis+socket://password@/path/to/file.sock:/0
AWS SQS
Use AWS SQS URL in the format:
https://sqs.us-east-2.amazonaws.com/123456789012
See AWS SQS docs for more information.
Also, configuring AWS_REGION is required, or an error would be thrown.
To use a manually configured SQS Client:
var sqsClient = sqs.New(session.Must(session.NewSession(&aws.Config{
  Region:         aws.String("YOUR_AWS_REGION"),
  Credentials:    credentials.NewStaticCredentials("YOUR_AWS_ACCESS_KEY", "YOUR_AWS_ACCESS_SECRET", ""),
  HTTPClient:     &http.Client{
    Timeout: time.Second * 120,
  },
})))
var visibilityTimeout = 20
var cnf = &config.Config{
  Broker:          "YOUR_SQS_URL"
  DefaultQueue:    "machinery_tasks",
  ResultBackend:   "YOUR_BACKEND_URL",
  SQS: &config.SQSConfig{
    Client: sqsClient,
    // if VisibilityTimeout is nil default to the overall visibility timeout setting for the queue
    // https://docs.aws.amazon.com/AWSSimpleQueueService/latest/SQSDeveloperGuide/sqs-visibility-timeout.html
    VisibilityTimeout: &visibilityTimeout,
    WaitTimeSeconds: 30,
  },
}
GCP Pub/Sub
Use GCP Pub/Sub URL in the format:
gcppubsub://YOUR_GCP_PROJECT_ID/YOUR_PUBSUB_SUBSCRIPTION_NAME
To use a manually configured Pub/Sub Client:
pubsubClient, err := pubsub.NewClient(
    context.Background(),
    "YOUR_GCP_PROJECT_ID",
    option.WithServiceAccountFile("YOUR_GCP_SERVICE_ACCOUNT_FILE"),
)

cnf := &config.Config{
  Broker:          "gcppubsub://YOUR_GCP_PROJECT_ID/YOUR_PUBSUB_SUBSCRIPTION_NAME"
  DefaultQueue:    "YOUR_PUBSUB_TOPIC_NAME",
  ResultBackend:   "YOUR_BACKEND_URL",
  GCPPubSub: config.GCPPubSubConfig{
    Client: pubsubClient,
  },
}
DefaultQueue
Default queue name, e.g. machinery_tasks.
ResultBackend
Result backend to use for keeping task states and results.
Currently supported backends are:
Redis
Use Redis URL in one of these formats:
redis://[password@]host[port][/db_num]
redis+socket://[password@]/path/to/file.sock[:/db_num]
For example:
redis://localhost:6379, or with passwordredis://password@localhost:6379redis+socket://password@/path/to/file.sock:/0- cluster/sentinel
redis://host1:port1,host2:port2,host3:port3 - cluster/sentinel with password
redis://pass@host1:port1,host2:port2,host3:port3
Memcache
Use Memcache URL in the format:
memcache://host1[:port1][,host2[:port2],...[,hostN[:portN]]]
For example:
memcache://localhost:11211for a single instance, ormemcache://10.0.0.1:11211,10.0.0.2:11211for a cluster
AMQP
Use AMQP URL in the format:
amqp://[username:password@]@host[:port]
For example:
amqp://guest:guest@localhost:5672
Keep in mind AMQP is not recommended as a result backend. See Keeping Results
MongoDB
Use Mongodb URL in the format:
mongodb://[username:password@]host1[:port1][,host2[:port2],...[,hostN[:portN]]][/[database][?options]]
For example:
mongodb://localhost:27017/taskresults
See MongoDB docs for more information.
ResultsExpireIn
How long to store task results for in seconds. Defaults to 3600 (1 hour).
AMQP
RabbitMQ related configuration. Not necessary if you are using other broker/backend.
Exchange: exchange name, e.g.machinery_exchangeExchangeType: exchange type, e.g.directQueueBindingArguments: an optional map of additional arguments used when binding to an AMQP queueBindingKey: The queue is bind to the exchange with this key, e.g.machinery_taskPrefetchCount: How many tasks to prefetch (set to1if you have long running tasks)DelayedQueue: delayed queue name to be used for task retry or delayed task (if empty it will follow auto create and delate delayed queues)
DynamoDB
DynamoDB related configuration. Not necessary if you are using other backend.
* TaskStatesTable: Custom table name for saving task states. Default one is task_states, and make sure to create this table in your AWS admin first, using TaskUUID as table's primary key.
* GroupMetasTable: Custom table name for saving group metas. Default one is group_metas, and make sure to create this table in your AWS admin first, using GroupUUID as table's primary key.
For example:
dynamodb:
  task_states_table: 'task_states'
  group_metas_table: 'group_metas'
If these tables are not found, an fatal error would be thrown.
If you wish to expire the records, you can configure the TTL field in AWS admin for these tables. The TTL field is set based on the ResultsExpireIn value in the Server's config. See https://docs.aws.amazon.com/amazondynamodb/latest/developerguide/howitworks-ttl.html for more information.
Redis
Redis related configuration. Not necessary if you are using other backend.
See: config (TODO)
GCPPubSub
GCPPubSub related configuration. Not necessary if you are using other backend.
See: config (TODO)
Custom Logger
You can define a custom logger by implementing the following interface:
type Interface interface {
  Print(...interface{})
  Printf(string, ...interface{})
  Println(...interface{})

  Fatal(...interface{})
  Fatalf(string, ...interface{})
  Fatalln(...interface{})

  Panic(...interface{})
  Panicf(string, ...interface{})
  Panicln(...interface{})
}
Then just set the logger in your setup code by calling Set function exported by github.com/RichardKnop/machinery/v1/log package:
log.Set(myCustomLogger)
Server
A Machinery library must be instantiated before use. The way this is done is by creating a Server instance. Server is a base object which stores Machinery configuration and registered tasks. E.g.:
import (
  "github.com/RichardKnop/machinery/v1/config"
  "github.com/RichardKnop/machinery/v1"
)

var cnf = &config.Config{
  Broker:        "amqp://guest:guest@localhost:5672/",
  DefaultQueue:  "machinery_tasks",
  ResultBackend: "amqp://guest:guest@localhost:5672/",
  AMQP: &config.AMQPConfig{
    Exchange:     "machinery_exchange",
    ExchangeType: "direct",
    BindingKey:   "machinery_task",
  },
}

server, err := machinery.NewServer(cnf)
if err != nil {
  // do something with the error
}
Workers
In order to consume tasks, you need to have one or more workers running. All you need to run a worker is a Server instance with registered tasks. E.g.:
worker := server.NewWorker("worker_name", 10)
err := worker.Launch()
if err != nil {
  // do something with the error
}
Each worker will only consume registered tasks. For each task on the queue the Worker.Process() method will be run
in a goroutine. Use the second parameter of server.NewWorker to limit the number of concurrently running Worker.Process()
calls (per worker). Example: 1 will serialize task execution while 0 makes the number of concurrently executed tasks unlimited (default).
Tasks
Tasks are a building block of Machinery applications. A task is a function which defines what happens when a worker receives a message.
Each task needs to return an error as a last return value. In addition to error tasks can now return any number of arguments.
Examples of valid tasks:
```go func Add(args ...int64) (int64, error) { sum := int64(0) for _, arg := range args { sum += arg } return sum, nil }
func Multiply(args ...int64) (int64, error) { sum := int64(1) for _, arg := range args { sum *= arg } return sum, nil }
// You can use context.Context as first argument to tasks, useful for open tracing func TaskWithContext(ctx context.Context, arg Arg) error { // ... use ctx ... return nil }
// Tasks need to return at least error as a minimal requirement func DummyTask(arg string) error { return errors.New(arg) }
// You can also return multiple results from the task func DummyTask2(arg1, arg2 string) (string, string, error) { return
Extension points exported contracts — how you extend this code
TaskProcessor (Interface)Core symbols most depended-on inside this repo
ErrorShape
Languages
Modules by API surface
Dependencies from manifests, versioned
Datastores touched
For agents
$ claude mcp add machinery \
  -- python -m otcore.mcp_server <graph>