github.com/NVandenBossche/salesforce-iam-flows @v1.0
Chat with this repoWhat it actually does AI analysis from the code graph — generated when you open this
README
Salesforce SAML and OAuth 2.0 authorization flows using Node.js
This application is an example implementation in Node.js of the different SAML and OAuth flows that are supported by Salesforce. Please leverage this repository as learning material, rather than something to be used in production.
Introduction
When I was preparing for the Salesforce Certified Technical Architect (CTA) certification, Identity & Access Management (IAM) was one of the topics I struggled with. Mainly because I hadn't come into contact with it frequently during any projects I'd worked on.
I knew how to set up Single Sign-On (SSO), but that didn't compare to understanding the more delicate complexities of the different OAuth flows. So I started diving into this topic in detail.
There were two resources that were invaluable to me:
- A very lengthy conversation about different IAM topics with Lawrence Newcombe. Lawrence has actually taken the outcome of these discussions and created very clear diagrams from them on his personal blog.
- A blog post about a Node.js application implementing the JWT OAuth flow by Jitendra Zaa.
At first, I expanded upon Jitendra's work by adding the flows I struggled with most. After passing the CTA board, I wanted to build it out further to include the majority of OAuth flows so that others could also learn from it.
It took a while but I've finally built it.
Video walkthrough
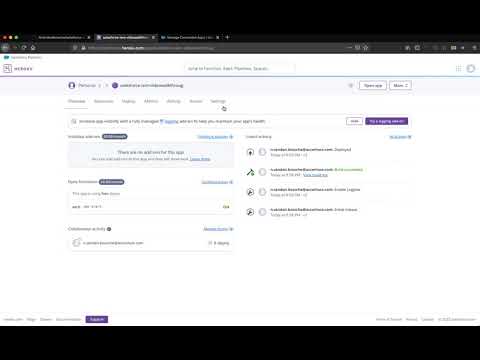
You can find a video walkthrough of how to install and set up the application on your personal Heroku environment. Click the below image to launch the video on Youtube.
Steps to run
Step-by-step instructions on how to get the application up and running.
Prerequisites
Create a Heroku account if you don't already have one.
If you want to run the application locally, install the Heroku CLI.
Step 1
Click on the below button to deploy this application on Heroku.

Step 2
Step 2.1 (Optional) Generate your own private key and public certificate
This step can be skipped if you're ok using the private key and public certificate that are stored in this GitHub repository. Be aware that this isn't safe and you should only do this for Salesforce environments that you don't mind getting compromised.
To generate your own private key and public certificate, follow these steps
- Install openssl by following the instructions on its Github repository.
- Clone this repository to your local machine.
- Run the following command in the root of the cloned repository:
- For OpenSSL 3.0 and above:
openssl req -x509 -newkey rsa:2048 -keyout key.pem -out server.crt -days 365 -noenc - For earlier versions of OpenSSL:
openssl req -x509 -newkey rsa:2048 -keyout key.pem -out server.crt -days 365 -nodes
- For OpenSSL 3.0 and above:
- Set your Heroku remote.
- Stage these changes, commit them and then push to the heroku master.
Step 2.2 Create Connected App
Create a Connected App in your Salesforce org. The Connected App should have the following settings:
- Basic Information: Fill out Name and your Email, leave everything else blank.
- API
- Enable OAuth Settings: check this.
- Enable for Device Flow: check this too.
- Callback URL: set to 'https://localhost:8081/oauthcallback' (if running locally) or 'https://your-heroku-app.herokuapp.com/oauthcallback' (if running on Heroku)
- Use digital signature: check this and upload the 'server.crt' file (either from this Github repository or self-generated certificate).
- Selected OAuth scopes: you can play with this but for all flows to fully function you'll need 'full', 'openid' and 'refresh_token'.
- Require secret for web server flow: uncheck this (unless you want to specifically test this setting).
- Leave all other settings as default.
- Web App Settings: leave default.
- Custom Connected App Handler: leave default.
- Mobile App Settings: leave default.
- Canvas App Settings: leave default.
Step 2.3 - Set Connected App Policies
From the newly created Connected App, click 'Manage', then 'Edit Policies'. Under 'OAuth Policies', selected 'Admin approved users are pre-authorized' for 'Permitted Users'.
After saving, add the correct profile of your user or add a permission set that is assigned to your user.
Step 3
Update the Config Vars of your Heroku app (Settings > Config Vars) for the following key-value pairs.
- PORT = 8080
- CLIENT_ID = client ID / consumer key of your connected app
- CLIENT_SECRET = client secret / consumer secret of your connected app
- BASE_URL = myDomain URL of your Salesforce org
- CALLBACK_URL = callback URL added to your connected app
- USERNAME = Salesforce username
- PERSIST = false
You can set "PERSIST" to "true" if you're running the application locally and you'd like to persist the response from the SAML Assertion flow.
Step 4
Navigate to the Heroku app at https://your-heroku-app.herokuapp.com/. Go to the flow you're interested in, read the description and click the Production / Sandbox button to execute.
Local testing
There's also a possibility to test a Heroku app locally. If you're taking this approach, execute the following steps:
- Create a local installation of Node.js and install the correct package dependencies.
- Install the Heroku CLI.
- Make sure the date & time are set automatically on your local machine to avoid time skew in your messages.
- Create a .env file in the root of your project directory that contains the environment variables.
Core symbols most depended-on inside this repo
eShape
Languages
Modules by API surface
For agents
$ claude mcp add salesforce-iam-flows \
  -- python -m otcore.mcp_server <graph>