github.com/ISchwarz23/SortableTableView @v2.8.1
Chat with this repoWhat it actually does AI analysis from the code graph — generated when you open this
README



SortableTableView for Android
An Android library providing a TableView and a SortableTableView.
Minimum SDK-Version: 11 | Compile SDK-Version: 25 | Latest Library Version: 2.8.0
New version available! Check version 3.1.0 of the pro version.
Repository Content
tableview - contains the android library sources and resources
app - contains an example application showing how to use the SortableTableView

Setup
To use the this library in your project simply add the following dependency to your build.gradle file.
    dependencies {
        ...
        compile 'de.codecrafters.tableview:tableview:2.8.0'
        ...
    }
Pro Version
If you want to have the best TableView experience, we offer you the possibility to get the pro version of the SortableTableView. This is what the pro version offers you:
| Open-Source Version | Pro Version | |
|---|---|---|
| render simple data |  |
|
| render custom data | |
|
| header styling | |
|
| data row styling | |
|
| data sorting | |
|
| data loading | |
|
| searching |  |
|
| paging | |
|
| selection | |
|
| view recycling | |
|
| support | |
|
| maintenance | |
|
| quick start guide | |
|
| full documentation | |
|
To get more information visit the SortableTableView-Page.
Features
Layouting
Column Count
The provided TableView is very easy to adapt to your needs. To set the column count simple set the parameter inside your XML layout.
<de.codecrafters.tableview.TableView
    xmlns:table="http://schemas.android.com/apk/res-auto"
    android:id="@+id/tableView"
    android:layout_width="match_parent"
    android:layout_height="match_parent"
    table:tableView_columnCount="4" />
A second possibility to define the column count of your TableView is to set it directly in the code.
TableView tableView = (TableView) findViewById(R.id.tableView);
tableView.setColumnCount(4);
Column Width
To define the column widths you can set a TableColumnModel that defines the width for each column. You can use a
predefined TableColumnModel or implement your custom one.
TableColumnWeightModel
This model defines the column widths in a relative manner. You can define a weight for each column index.
The default column weight is 1.
TableColumnWeightModel columnModel = new TableColumnWeightModel(4);
columnModel.setColumnWeight(1, 2);
columnModel.setColumnWeight(2, 2);
tableView.setColumnModel(columnModel);
TableColumnDpWidthModel
This model defines the column widths in a absolute manner. You can define a width in density-independent pixels for each column index.
The default column width is 100dp. You can pass a different default to the constructor.
TableColumnDpWidthModel columnModel = new TableColumnDpWidthModel(context, 4, 200);
columnModel.setColumnWidth(1, 300);
columnModel.setColumnWidth(2, 250);
tableView.setColumnModel(columnModel);
TableColumnPxWidthModel
This model defines the column widths in a absolute manner. You can define a width in pixels for each column index.
The default column width is 200px. You can pass a different default to the constructor.
TableColumnPxWidthModel columnModel = new TableColumnPxWidthModel(4, 350);
columnModel.setColumnWidth(1, 500);
columnModel.setColumnWidth(2, 600);
tableView.setColumnModel(columnModel);
Showing Data
Simple Data
For displaying simple data like a 2D-String-Array you can use the SimpleTableDataAdapter. The SimpleTableDataAdapter will turn the given Strings to TextViews and display them inside the TableView at the same position as previous in the 2D-String-Array.
public class MainActivity extends AppCompatActivity {

    private static final String[][] DATA_TO_SHOW = { { "This", "is", "a", "test" },
                                                     { "and", "a", "second", "test" } };

    @Override
    protected void onCreate(Bundle savedInstanceState) {
        super.onCreate(savedInstanceState);
        setContentView(R.layout.activity_main);

        TableView<String[]> tableView = (TableView<String[]>) findViewById(R.id.tableView);
        tableView.setDataAdapter(new SimpleTableDataAdapter(this, DATA_TO_SHOW));
    }
}
Custom Data
For displaying more complex custom data you need to implement your own TableDataAdapter. Therefore you need to implement the getCellView(int rowIndex, int columnIndex, ViewGroup parentView) method. This method is called for every table cell and needs to returned the View that shall be displayed in the cell with the given rowIndex and columnIndex. Here is an example of an TableDataAdapter for a Car object.
public class CarTableDataAdapter extends TableDataAdapter<Car> {

    public CarTableDataAdapter(Context context, List<Car> data) {
        super(context, data);
    }

    @Override
    public View getCellView(int rowIndex, int columnIndex, ViewGroup parentView) {
        Car car = getRowData(rowIndex);
        View renderedView = null;

        switch (columnIndex) {
            case 0:
                renderedView = renderProducerLogo(car);
                break;
            case 1:
                renderedView = renderCatName(car);
                break;
            case 2:
                renderedView = renderPower(car);
                break;
            case 3:
                renderedView = renderPrice(car);
                break;
        }

        return renderedView;
    }

}
The TableDataAdapter provides several easy access methods you need to render your cell views like:
- getRowData()
- getContext()
- getLayoutInflater()
- getResources()
Sortable Data
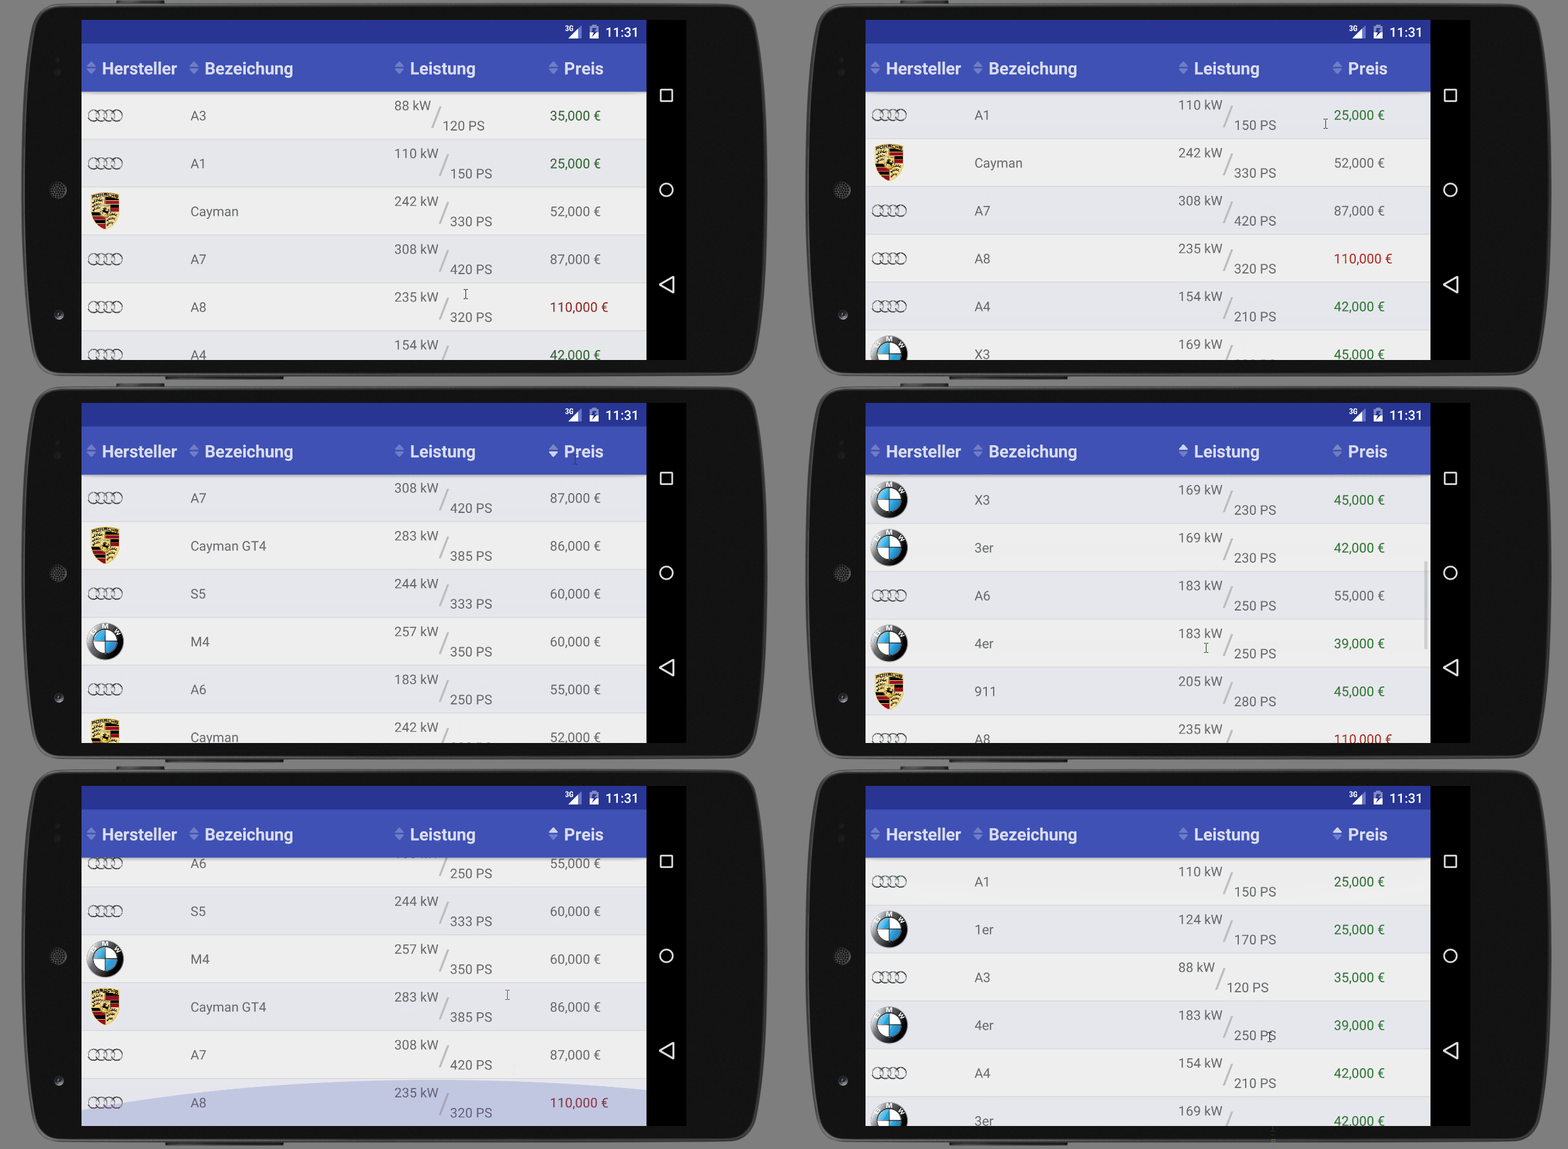
If you need to make your data sortable, you should use the SortableTableView instead of the ordinary TableView. To make a table sortable by a column, all you need to do is to implement a Comparator and set it to the specific column.
@Override
protected void onCreate(Bundle savedInstanceState) {
    super.onCreate(savedInstanceState);
    setContentView(R.layout.activity_main);
    // ...
    sortableTableView.setColumnComparator(0, new CarProducerComparator());
}

private static class CarProducerComparator implements Comparator<Car> {
    @Override
    public int compare(Car car1, Car car2) {
        return car1.getProducer().getName().compareTo(car2.getProducer().getName());
    }
}
By doing so the SortableTableView will automatically display a sortable indicator next to the table header of the column with the index 0. By clicking this table header, the table is sorted ascending with the given Comparator. If the table header is clicked again, it will be sorted in descending order.
Empty Data Indicator
If you want to show a certain view if there is no data available in the table, you can use the setEmptyDataIndicatorView method. Therefore you first have to add this view to your layout (preferable with visibility gone) and then pass it to the TableView.
@Override
protected void onCreate(Bundle savedInstanceState) {
    super.onCreate(savedInstanceState);
    setContentView(R.layout.activity_main);
    // ...
    tableView.setEmptyDataIndicatorView(findViewById(R.id.empty_data_indicator));
}
This view is automatically shown if no data is available and hidden if there is some data to show.
Header Data
Setting data to the header views is identical to setting data to the table cells. All you need to do is extending the TableHeaderAdapter which is also providing the easy access methods that are described for the TableDataAdapter.
If all you want to display in the header is the column title as String (like in most cases) the SimpleTableHeaderAdapter will fulfil your needs.
To show simple Strings inside your table header, use the following code:
public class MainActivity extends AppCompatActivity {

    private static final String[] TABLE_HEADERS = { "This", "is", "a", "test" };

    @Override
    protected void onCreate(Bundle savedInstanceState) {
        // ...
        tableView.setHeaderAdapter(new SimpleTableHeaderAdapter(this, TABLE_HEADERS));
    }
}
To show Strings from resources inside your table header, use the following code: ```java public class MainActivity extends AppCompatActivity {
private static final int[] TABLE_HEADERS = { R.string.header_col1, R.string.header_col2, R.string.header_col3 };

@Override
protected void on
Extension points exported contracts — how you extend this code
TableColumnModel (Interface)Core symbols most depended-on inside this repo
getContextShape
Languages
Modules by API surface
For agents
$ claude mcp add SortableTableView \
  -- python -m otcore.mcp_server <graph>