github.com/Astrian/Nagging-backend @main
Chat with this repoBrowse by type
What it actually does AI analysis from the code graph — generated when you open this
README
Project Nagging
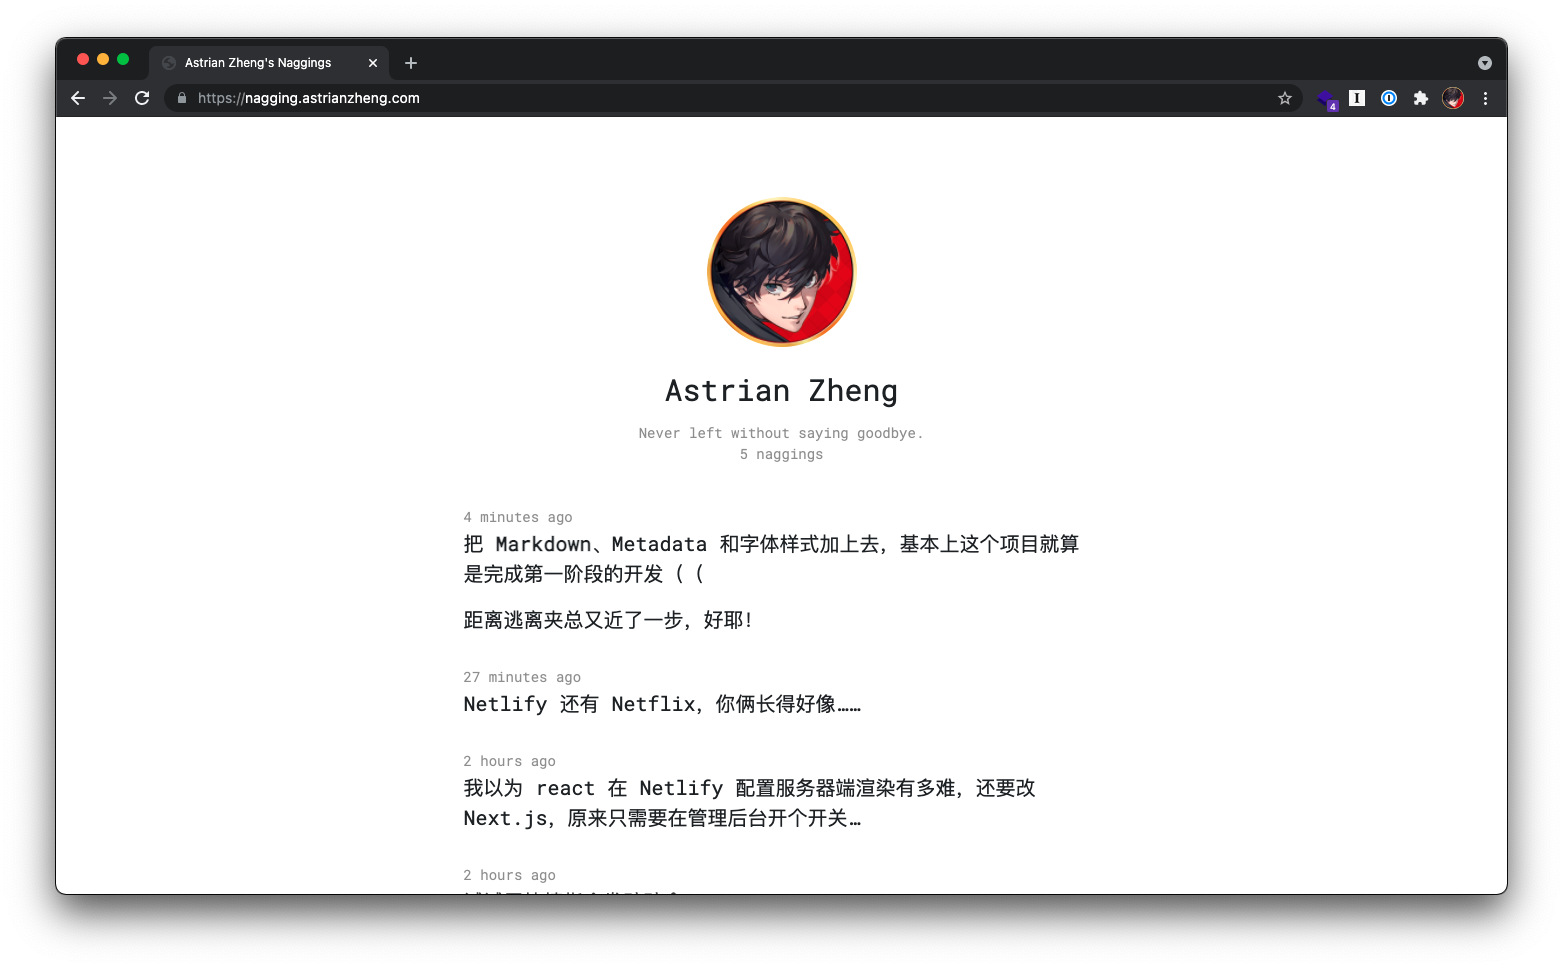
Nagging is a personal space for your shattered thoughts. May better than Weibo or Twitter.
Note: This is backend code repo for Project Nagging. The frontend code repo is here, and you need to deploy both of them to use Nagging.
Feature
- 1 user per Nagging instance
- Public naggings timeline
- Post naggings with Markdown
- Hyperlink to single nagging
- Metatag support (with serverside rendering environment)
What is (not) Nagging
Nagging is or can be:
- A personal space for shattered thoughts.
- Your public but secrect (well?) blog.
- A information collector with Roam Research theory.
Nagging is not:
- Social network. It hasn't likes, notifications, relationships and (unreasonable) sensorship.
- A private notebook. All naggings posted in Project Nagging is public visible.
Deploy
Prepare database
- Create a MongoDB database.
- Create 3 collections in this database:
users,sessionsandnaggings. - Generate a user and authrize it to read/write this database.
Prepare backend part
Install with Node.js v12 and above:
git clone https://github.com/Astrian/Nagging-backend
cd Nagging-backend
npm i
Set environment variables:
NG_CORSDOMAIN: Your fontend domain, warp in JSON array.NG_DBAUTH: MongoDB username and password.NG_DBENDPOINT: MondoDB access endpoint.NG_DBNAME: The name of the database you just created.
Like this:
export NG_CORSDOMAIN=["https://my-own-naggings.com"]
export NG_DBAUTH=nagging:passwordishere
export NG_DBENDPOINT=cluster7.e8kw9.mongodb.net/?retryWrites=true&w=majority
export NG_DBNAME=nagging
Also, you can try deploy directly in Heroku. If you try so, don't forget add environment variables (“config vars” in Heroku) manually!
Prepare frontend part
Install with Node.js v12 and above:
git clone https://github.com/Astrian/Nagging-frontend
cd Nagging-frontend
npm i
Set environment variables:
REACT_APP_GQLSERVER: Your backend endpoint address, usually is your backend domain e.g.https://api.my-own-naggings.comREACT_APP_DOMAIN: Your front end domain withhttps://
Then, run npm build, and you can put the folder build to your static server. Remeber to set that all the route will return index.html because it is a single page application!
Also, you also can deploy it directly to Netlify with Serverside Rendering. You can switch it on in Site settings - Build & deploy - Post processing - Prerendering.
Create your account
https://my-own-naggings.com/createaccount
Once you created your account, you can try post your first nagging! The nagging composer is right on homepage.
Core symbols most depended-on inside this repo
Shape
Languages
Modules by API surface
Datastores touched
For agents
$ claude mcp add Nagging-backend \
  -- python -m otcore.mcp_server <graph>