github.com/AdoraNwodo/nocode-token-generator-dapp @main
Chat with this repoBrowse by type
What it actually does AI analysis from the code graph — generated when you open this
README
AutoToken



AutoToken is a DApp that allows people without technical skills to create their own tokens without needing to write code ✨ 🚀
Try it out here 💕
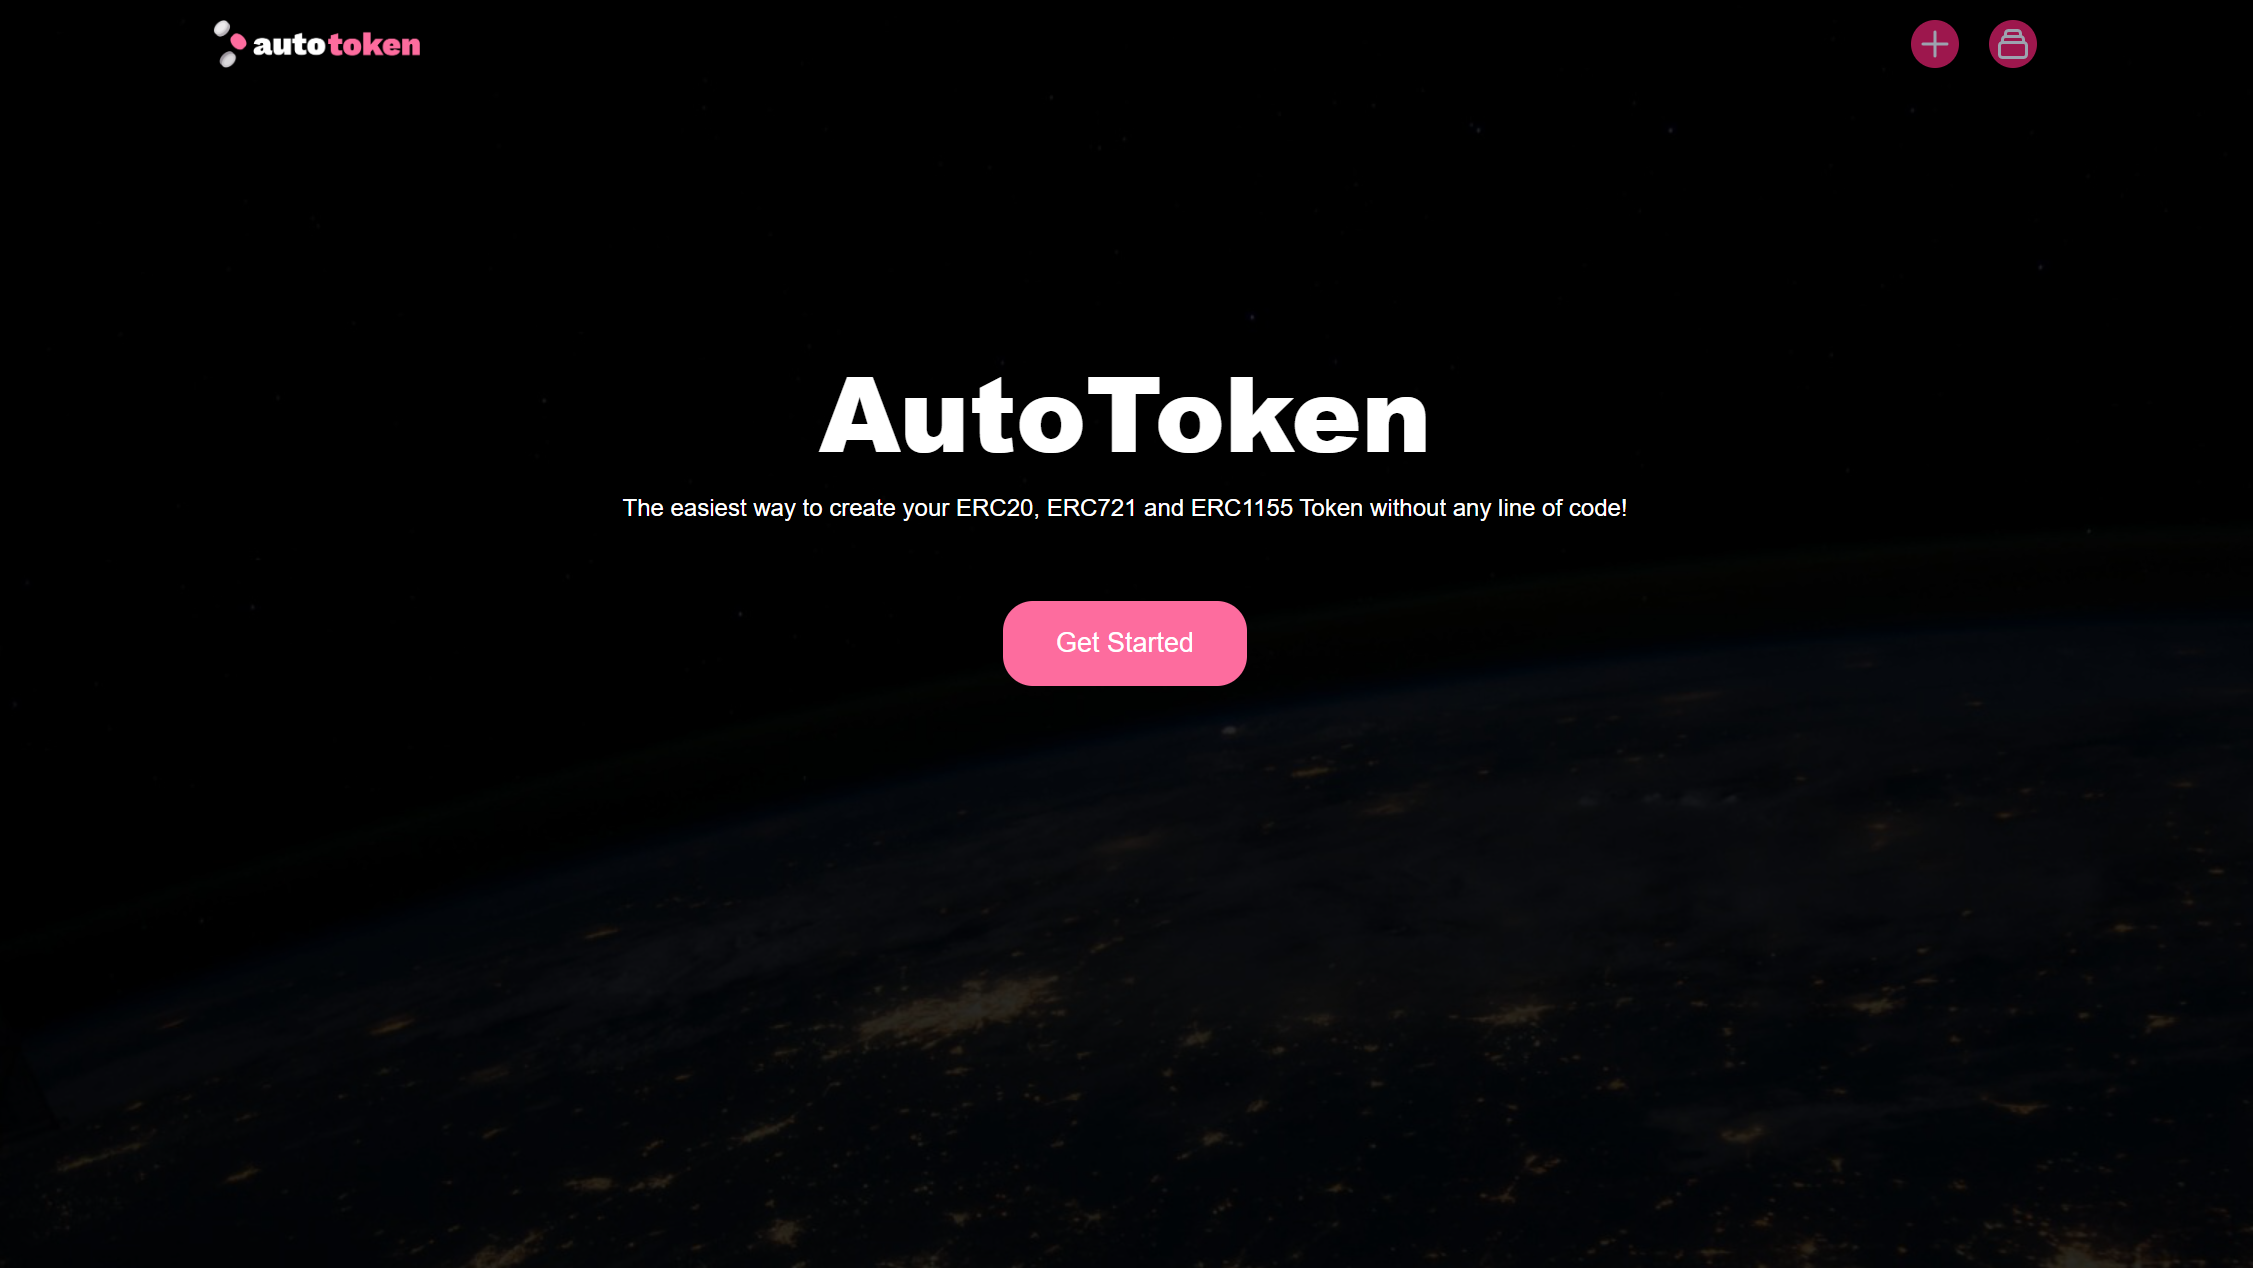
AutoToken is a no-code token generator that allows people from diverse backgrounds to create their tokens without needing to write any line of code.
AutoToken aims to offer its users the ability to create ERC-20, ERC-721 and ERC 1155 tokens. In order to do that, the user needs to connect. Today, many people have to write ethereum smart contracts to do that. their MetaMask wallet. Once connected, users will have access to all the features that exist on the dApp.
With this solution, users will be able to specify the properties of the token they would like to create, deploy smart contracts that create virtual tokens without needing to write any line of code and see a list of all the tokens they have.
To read more about this solution, read the whitepaper. 💕💕
Getting Started
This project uses Node dependencies. This means you would need to have npm or yarn installed. With this, you can get started with the following steps:
1. Clone this project git clone git@github.com:AdoraNwodo/nocode-token-generator-dapp.git
2. Launch and build the frontend and smart contract.
Frontend
The /frontend directory has all the frontend code (written in VueJS). To setup after cloning the repo, follow the steps:
1. Switch to the frontend directory
cd frontend
- Install all dependencies by running
npm install
- You can run the app with this command:
npm run serve
Smart contract
- Switch to the smart-contract directory
cd smart-contract
- Install all dependencies by running
npm install
- Create a
.envfile in the root and add your provider API_URL and MetaMask PRIVATE_KEY - Compile using hardhat
npx hardhat compile
- To deploy a contract, you can run the command below
npx hardhat run scripts/deployERC20.ts --network rinkeby
The command above deploys the ERC20Factory.sol contract and we use the Rinkeby Test Network.
After deployment, you can copy the new contract address and use the contract in your frontend
Security
If you discover any security related issues, please email nennenwodo@gmail.com instead of using the issue tracker.
License
MIT. Please see the license file for more information.
Extension points exported contracts — how you extend this code
browse all types & interfaces →
Core symbols most depended-on inside this repo
Shape
Languages
Modules by API surface
For agents
$ claude mcp add nocode-token-generator-dapp \
  -- python -m otcore.mcp_server <graph>